Matrix area
The large central area is the matrix area. It displays the Matrix, which is the very core of Playtime.


Template panel

Lets you pick among a bunch of simple matrix templates.
This is only shown if the matrix doesn’t have any columns yet.
General
Add column
Adds a new column to the matrix and associates it with a newly created REAPER track.
Adding a new column automatically creates a corresponding REAPER track, on which clips in this column will be played back. See Column track.
Matrix cell
This cell represents the complete matrix including all of its columns, rows and slots.
Stop matrix
A single click stops all playing clips according to their stop timing.
A double click stops all playing clips instantly.
Matrix settings
Selects the matrix settings cell. This makes the inspector show settings related to the complete matrix.
See Matrix inspector.
| Right-clicking this area opens the Matrix context menu. |
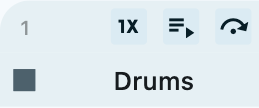
Column cell
This cell represents the complete column, including all of its slots.
If you don’t see the upper part, check Show column numbers.
Exclusive mode
This lights up if the column is in exclusive mode, which means that only one slot at a time will usually be playing.
You can also click this button to toggle exclusive mode on/off.
This is a shortcut for Exclusive mode.
Follow scenes
This lights up if the column follows scenes. You can also click this button to follow/unfollow.
This is a shortcut for Follow scenes.
Stop column
A single click stops all playing clips in this column according to their stop timing.
A double click stops all playing clips in this column instantly.
Column label
Selects this column cell. This makes the inspector show settings related to this column.
See Column inspector.
| Right-clicking this area opens the Column context menu. |
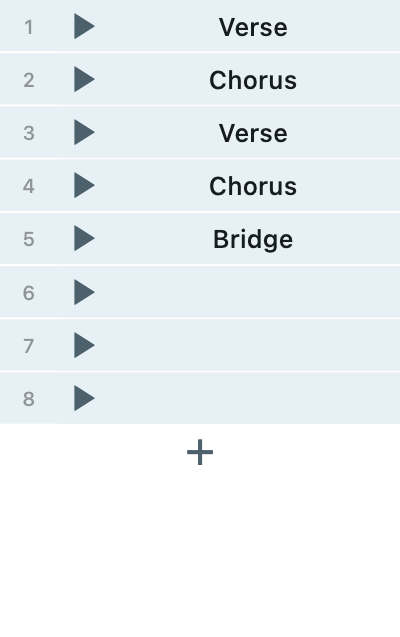
Row cell
This cell represents the complete row, including all of its slots.
Row label
Selects this row cell. This makes the inspector show settings related to this row.
See Row inspector.
| Right-clicking this area opens the Row context menu. |
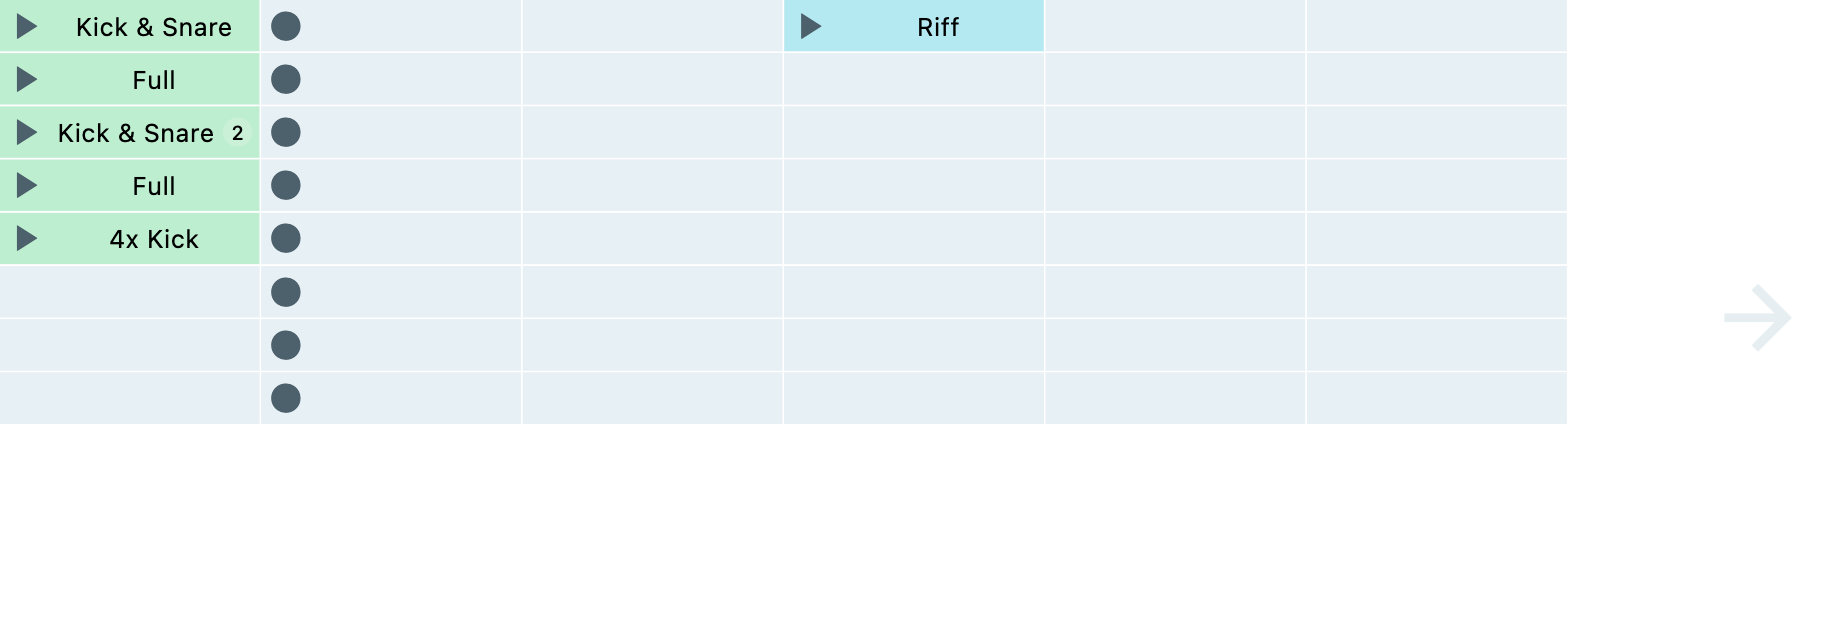
Slot cell
This cell represents a slot in the matrix.
Trigger slot
Plays, retriggers or stops all clips in this slot depending on the trigger behavior configured for the matrix.
Stop: A single click stops all contained clips according to their stop timing. A double click stops all contained clips instantly.
Record clip
Starts recording a new clip into this slot.
This is only available if the corresponding Column track is armed.
Slot content
Selects this slot cell. This makes the inspector show settings for each clip in this slot.
A double click on a filled slot cell opens the waveform view or the MIDI editor of the primary clip in this slot. A double click on an empty slot cell creates an empty MIDI clip.
See Slot inspector.
| Right-clicking this area opens the Slot context menu. |


