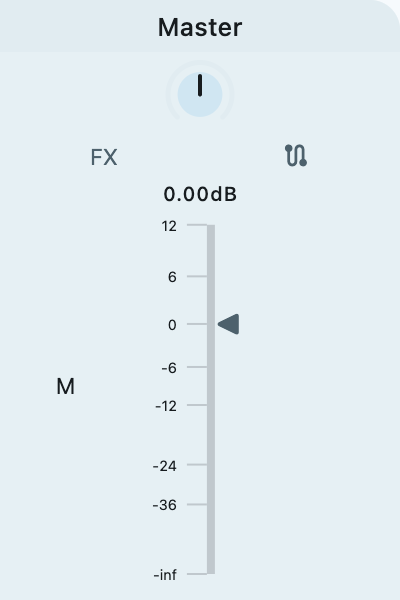
Track area
The area at the bottom is the track area. It displays the master output track at the very left, followed by the column tracks. The tracks are arranged horizontally, mirroring the layout of REAPER’s mixer control panel.
| Since multiple columns can have the same playback track, it’s possible that you see one track panel multiple times! |


Track panel header
The top of the track panel is the track panel header.
Track input type indicator
This icon indicates whether the track reacts to MIDI or audio input.
This should not be confused with a track type! Tracks in REAPER/Playtime don’t have any type. A track can always play both audio and MIDI clips, no matter what’s displayed here. The icon only refers to the current recording input!
Track input section
Track input
Pick the hardware input of this track used for recording and input monitoring. This can be a MIDI or audio input.
| Playtime captures audio or MIDI input more or less directly from the hardware. That also means that the track’s input FX chain will not have any effect on the recording! You can work around this limitation by using Loopback channels instead of input FX. |
| Selecting Loopback channels as audio input doesn’t automatically enable them! Make sure that the REAPER setting Virtual loopback audio hardware channels in is high enough! |
| This directly sets the input of the corresponding REAPER track. Although technically not necessary for recording because Playtime doesn’t use REAPER’s track recording facility, it is important for input monitoring. |
MIDI channel filter
Allows to listen to a specific MIDI channel only. Messages from other MIDI channels will be ignored.
| This directly sets the input MIDI channel of the corresponding REAPER track. |
Map to MIDI channel
Route all incoming MIDI events to a specific MIDI channel at record time.
| This directly sets the "Map input to channel" value of the corresponding REAPER track. |
Input monitoring
Controls if and when the track input signal will be audible.
Input monitoring off
Switches input monitoring for this track off. That means you will not hear what your play.
Input monitoring auto
Switches input monitoring to automatic mode. That means it will be on if the track is armed for recording and off if not.
Input monitoring on
Switches input monitoring for this track on. That means you will hear what you play.
| Which input monitoring mode you choose also has an effect on how Playtime does latency compensation during recording. Read more about that in Latency compensation during recording. |
|
Playtime input monitoring explained
Playtime input monitoring options are slightly different from REAPER’s input monitoring options. Each input monitoring option mode translates to a certain combination of REAPER track properties:
|
Track output section
PDC info
If the track is affected by Plugin delay compensation (PDC), a small icon will light up.
Tiny latency: 5ms
This track is affected by a tiny latency, which Playtime compensates during playback. Input monitoring should be fine.
Significant latency: 20ms
This track is affected by a significant latency, which Playtime compensates during playback. Input monitoring will probably not be too much fun because of the introduced delay.
Critical latency: 200ms
This track is affected by a very high latency, which Playtime compensates during playback. Input monitoring will be absolutely terrible because of high delays. Playback will not be optimal.
Please note that Playtime is a live tool and therefore optimized for low latencies. It will do its best to deal with high latencies, but the experience might be less smooth. Consider turning off the offending FX if you want to use Playtime for jamming!
Track volume

Shows the track peaks and lets you control the track volume.
When not enough vertical space is available, this turns into a drag field, visualizing the peaks as color changes.
| This directly sets the volume of the corresponding REAPER track. |
Instrument FX
Shows the first instrument FX on this track.
This icon is only visible if there’s at least one instrument in the FX chain.
FX chain
Shows the REAPER FX chain of this track
The button is displayed in bold font if there’s at least one FX in the chain.
Arm track
Arms this track for recording
| See Playtime input monitoring explained to learn how this translates to REAPER track properties. |


